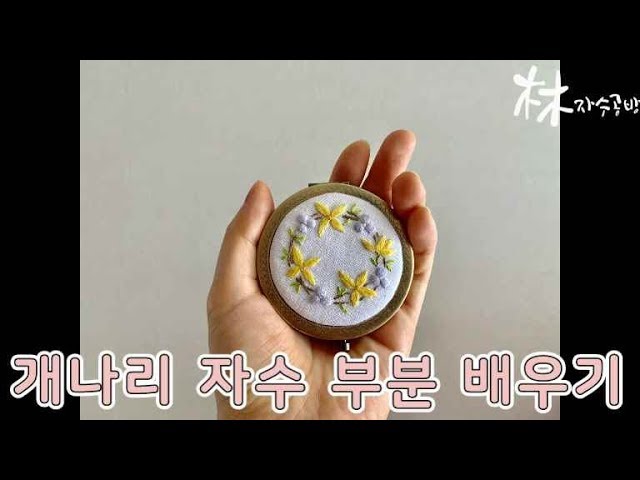
[ENG CC]프랑스자수 배우기 - 개나리 자수 부분 ...
고양이가 중간에 나올 수도 있어요 놀라지 말아주세요 ㅠㅠ

Materials Light bulb type silicon mold UV LED resin hard Resin coloring agent gold pearl greige Artistic wire Toning palette Toning stick toothpick Nipper Pin vise Screw eye strap chain Steps 1 Add coloring agent gold and pearl greige to resin solution and mix2 Pour the resin solution just made into the socket part of the light bulb type silicon mold3 Pour resin liquid into the glass part of the bulb Make two of this4 Cure5 Wrap artistic wire around the toothpick twist it and cut it with a nipper6 Place the resulting wire in the center of the bulb and pour the resin solution from above7 Cure8 Pour the resin liquid into the bulb that does not contain wire and cover the bulb containing the wire9 Cure10 Increase transparency by passing finished bulb through the resin solution and curing11 Drill a hole in the socket part with pin vise insert the resin liquid coated screw eye and harden it12 Combine with strap and chainCompletion100均のモールドを使って ちょっぴりレトロな電球を再現してみました チャームだけでなく ピアスなどのアクセサリーにしてもとってもかわいいので是非試してみてください 用意するもの 電球型シリコンモールド UV LEDレジン ハード レジン着色料 宝石の雫 ゴールド パールグレージュ アーティスティックワイヤー 調色パレット 調色スティック 爪楊枝 ニッパー ピンバイス ヒートン ストラップ チェーン つくり方 1 レジン液に着色料ゴールド パールグレージュを両方加えて混ぜる2 つくったレジン液を電球型シリコンモールドのソケット部分にのみ流し込む3 電球のガラス部分にレジン液を流し込む これを2つ作る4 硬化させる5 爪楊枝にアーティスティックワイヤーを巻きつけ 捻ってニッパーで切る6 できたワイヤーを電球の中央に置き 上からレジン液を流し込む7 硬化させる8 ワイヤーの入っていない電球にレジン液を流し込み ワイヤーの入った電球をかぶせる9 硬化させる10 出来上がった電球をレジン液にくぐらせて硬化させることで透明度を高める11 ピンバイスでソケット部分に穴を開け レジン液を塗ったヒートンを差し込み硬化させる12 ストラップ チェーンと組み合わせる完成最後にレジン液に電球をくぐらせて透明度を上げることがポイントです
고양이가 중간에 나올 수도 있어요 놀라지 말아주세요 ㅠㅠ
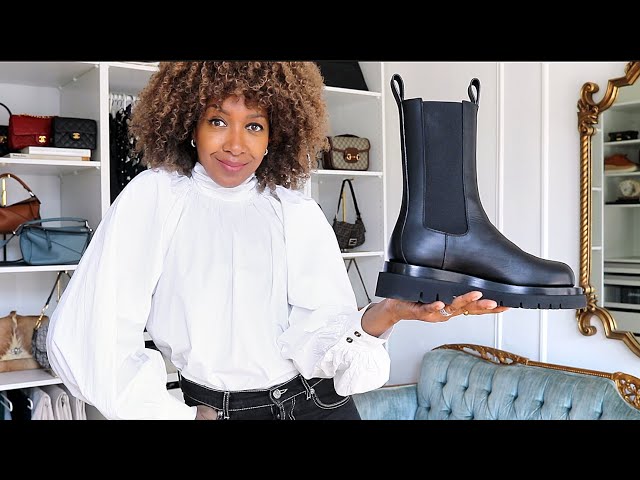
Use code FF10KAREN at checkout for 10% off your Farfetch order T&Cs This offer is valid for new customers only. This offer is val...

Ещеоднашкатулкаизлиповогоналичника。 Себестоимостьшкатулки - 100рублей。 Ценаналичника2,4м - 150рублей,из1наличникаполучаются2шкат...
★LINEスタンプ(stickers)購入は…https://line.me/S/sticker/5110598 ★2019年 壁掛けカレンダーOthello&Cheese Jr 発売!2019 Othello&Cheese Jr Wall Calendar!...

Don't give up yet on your resolution to eat healthier! Here are some recipes to keep you motivated!
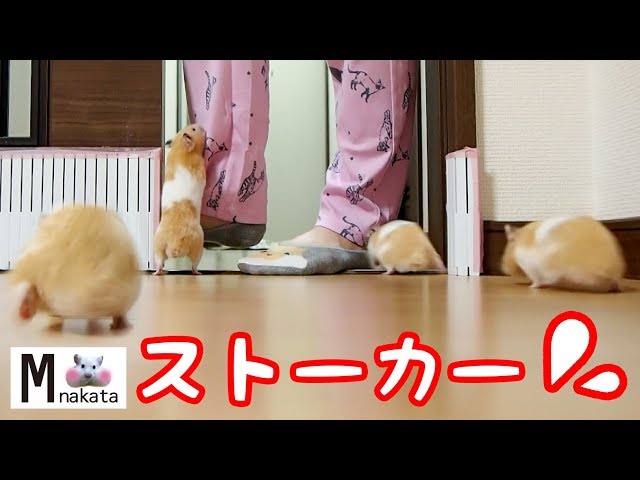
おはぎちゃんの行動を不思議がる子猫(わらび)です。 【blog https://ameblo.jp/nesuko2ne2si/entry-12306092926.html】 Subscribe to MAKO0MAKO0 Channel!: ➡︎https:/...


For copyright matters please contact us at: minz.gstore@gmail.com 👉 Subscribe: https://goo.gl/qqOl7o My channel : Easy Cakes De...
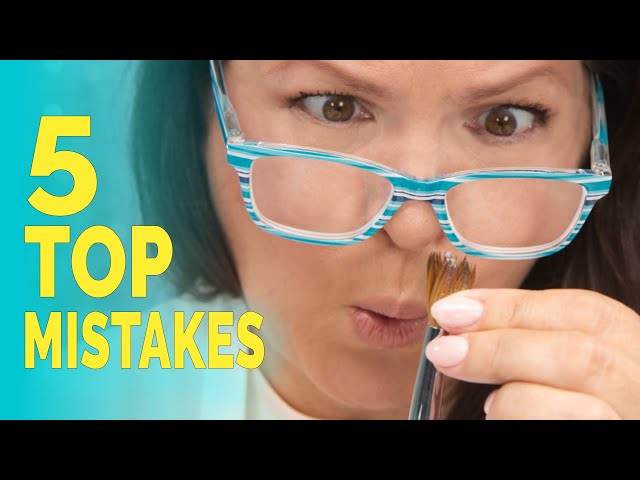
As an educator, I find these are the most common issues with Acrylic. Let me show you how we make these mistakes, and how to fix t...

赤ちゃん猫を触りたいけれども触れないひのきです。
#元野良#家猫化#cat


In this video I have invited a special guest...my stitchy friend Kristie from Crosshatch Quilts is here and we are showi...

How to paint dandelions using starbucks paper cup / Acrylic Painting Techniques - JayLee ❖ Jay Lee is a painting youtube...

こんにちは、こんばんは!樹(いつき)です♪今日の動画の推しポイントは『アルミホイルを踏んだ時のぴーちゃんの足プルプル』です!ぜひ、注目して見てみてください😜🙏

あまり体型について言及することはありませんでしたが、私が激太りしたこと皆様気がついていたと思います。これからは胸を張って今の自分から逃げずに発信したいと思いました。ちょっと怖くて全身を映したりしていなかったのですが、徐々にコーデも紹介したい...
![BJD Levi Ackerman [Attack on Titan] Box Opening / Unboxing](https://i.ytimg.com/vi/fi1ysk_Sdpg/mqdefault.jpg)
I got my hands on a Levi BJD! :) I felt it was the perfect timing since season 4 is the last season! What I really loved...

ケイトから2/1に発売の「ケイト パーツリサイズシャドウ」は新発想のアイシャドウ! 下まぶたに重点をおいたアイシャドウで、ほほの余白が埋まり小顔印象が際立つ顔に仕上がりに👀 でか目と小顔が一気に叶えられる理想的なアイシャドウなんです💡 カラ...

たっくさんリクエスト頂いているので、金曜日にアップしようと思っていた #スック の新作アイシャドウ #シグニチャカラーアイズ のレビューを本日アップしますー♪ てへ♡とりあえず月曜日、頑張ったぜ今日も俺たち、、、なっ!ってテンションで ご覧...

안녕하세요. 조꽁드입니다. 이 영상을 시작으로 4편의 크림치즈 디저트 레시피를 올릴 예정입니다. 주식회사 동서가 새로이 선보이는 독일산 필라델피아 크림치즈 제품을 제공받아 레시피 영상을 제작 하게 되었습니다. (유...
Copyright © 2017 - All Rights Reserved - www.ichaowu.com

